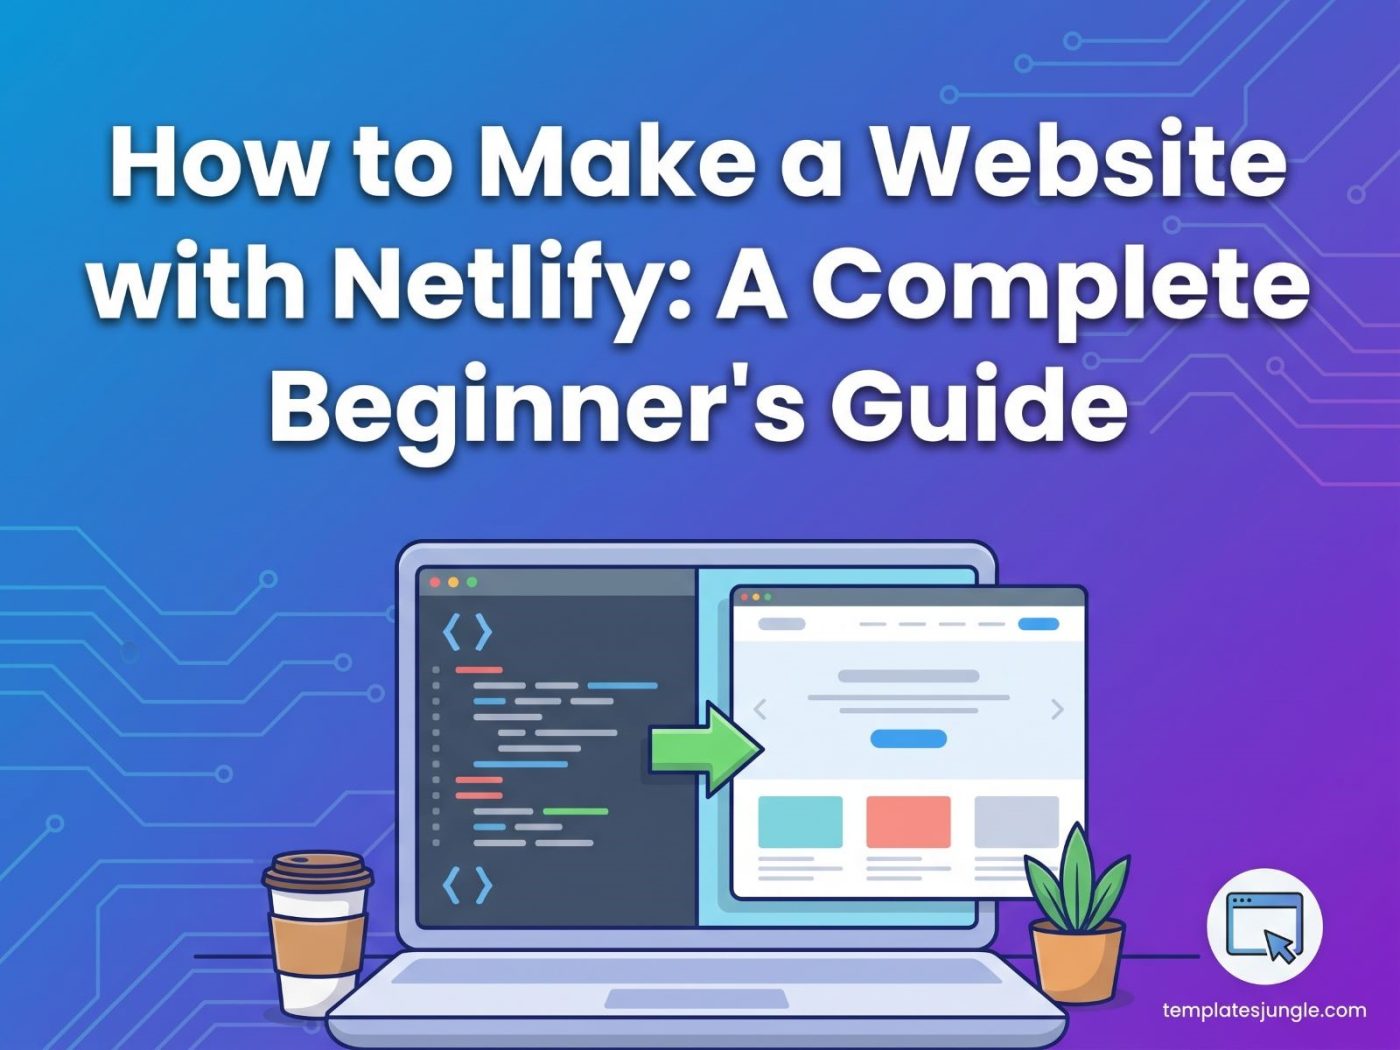

Getting a website online used to mean wrestling with servers, FTP clients, and complex configurations. Netlify changed all that. In this guide, I’ll show you how to find the perfect HTML template from TemplatesJungle and publish it on Netlify in minutes—completely free.
Why Netlify is Perfect for Beginners
Netlify makes deploying a website incredibly simple. You don’t need to set up servers, upload files manually through FTP, or deal with complex configuration. Once everything is connected, Netlify takes care of deployments for you automatically.
The best part? Netlify offers a generous free plan that includes:
- A free
your-site.netlify.appdomain - Global CDN distribution for fast loading
- Automatic HTTPS (SSL) for security
- Continuous deployment from GitHub
- Deploy previews for testing changes
What You Need Before Starting
Before we begin, make sure you have:
- A free Netlify account (sign up at netlify.com)
- A GitHub account (free)
- An HTML template from TemplatesJungle
Pro Tip: The website does not need to be fancy. The goal here is to understand the deployment process, not to build a perfect website.
Step 1: Find Your Perfect Template at TemplatesJungle
TemplatesJungle offers an extensive collection of free Bootstrap 5 HTML templates covering nearly every industry and niche. All their templates feature clean, well-organized code that’s easy to customize.
Popular Template Categories Available:
💼 Business & Services
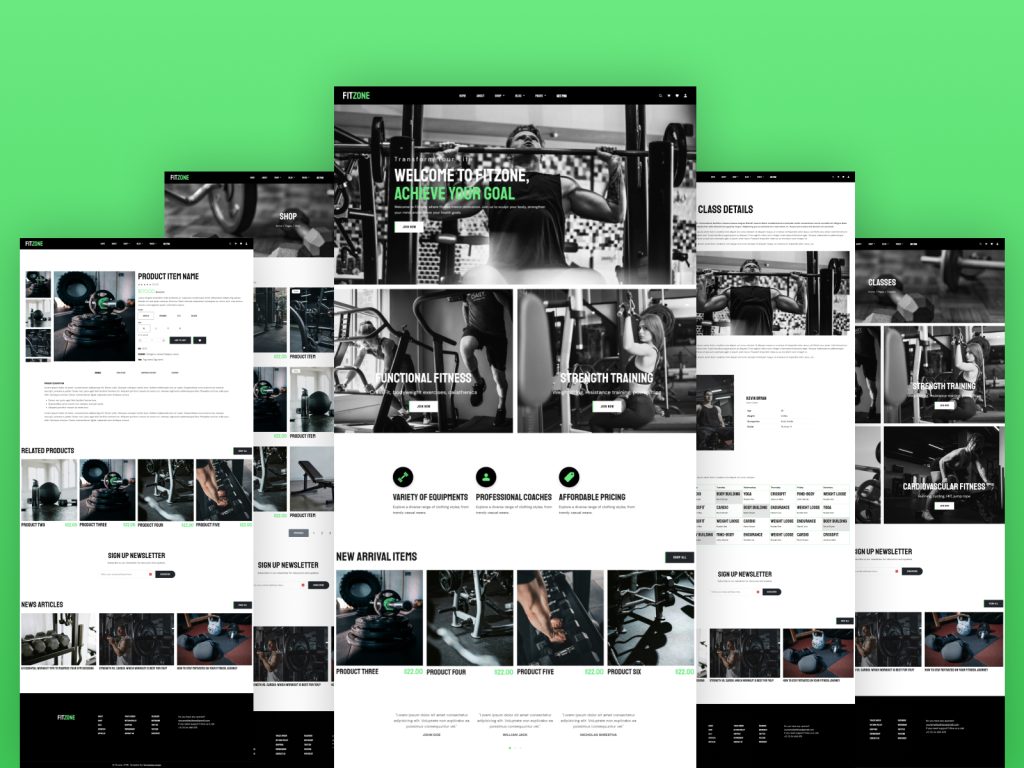
- Fitzone – Fitness and gym center template with sections for classes, trainers, and schedules
- StyleTrim – Modern barber and hair salon template with a fully responsive layout
- Decora – Beautiful interior design template for designers and studios
- JetWash – Pressure washing and cleaning service template
🛍️ E-commerce & Online Stores
- Elegant Watch Store – Sleek template for luxury boutiques and premium products
- Clothique – Clean e-commerce template for clothing and fashion stores
- Furry – Pet store template with well-organized product sections
- GadgetHub – Modern electronics eCommerce template
- Urban – Retro vibes T-shirt store template
- ClayHaven – Elegant ceramic and pottery shop template
👨💻 Portfolio & Personal

- Natalie – Free developer portfolio template designed for personal portfolios
- EdwinCoward – Professional multipage portfolio for freelancers and creatives
- LaurenTsai – Stylish multipage portfolio template
📊 Admin Dashboards
📚 Other Niches

- Jubilee – Online course selling template
- TechLight – Minimal eCommerce and blog template for tech stores
- Plantly – Plant selling website template
- Lifestyle – Clean blog template for any niche
- Waggy – Pet shop eCommerce template
- Serene – Beauty store template for skincare and makeup brands
Visit TemplatesJungle.com/bootstrap-templates/ to explore the full collection.
Choosing the Right Template
When browsing, look for a template that matches your industry and needs. For example:
- If you sell physical products, choose an e-commerce template like Clothique or Elegant Watch Store
- If you’re a freelancer, pick a portfolio template like Natalie or EdwinCoward
- If you run a service business, select a service-focused template like JetWash or StyleTrim
One jewelry brand founder searched TemplatesJungle’s collection for “jewelry” and found the perfect match that helped them build a six-figure business. The template included everything they needed: homepage, product listing page, about section, contact page, and even a blog layout.
Download Your Template
- Click “Download” on your chosen template
- Save the ZIP file to your computer
- Extract the ZIP file to a folder
- Open the folder to find all the HTML, CSS, and JavaScript files
Step 2: Prepare Your Template for Deployment
Before uploading, make sure your template folder has an index.html file at its root. This becomes your homepage.
Quick Customization (Optional)
Want to personalize your template before deploying? You can edit the HTML files in any text editor:
- Open
index.htmlin Visual Studio Code (free) or Notepad - Change the text content to your own information
- Replace placeholder images with your own images
- Update contact details, social media links, and brand colors
The code in TemplatesJungle templates is clean and well-organized, making it easy to customize even for beginners.
Step 3: Deploy Your Website to Netlify
Method A: Drag-and-Drop (Fastest & Easiest)
This method works perfectly for static HTML templates that don’t require a build step.
- Go to app.netlify.com/drop
- Log in to your Netlify account (or sign up first)
- Drag your entire template folder directly onto the page
Important: Make sure you drag the folder containing your HTML files, not the ZIP file. If you have a ZIP, unzip it first.
- Netlify will automatically detect your site
- Within seconds, you’ll get a live URL like
random-name-12345.netlify.app
Your site is now live on the internet! 🎉
Method B: Deploy from GitHub (For Automatic Updates)
This method sets up continuous deployment—every time you push changes to GitHub, Netlify automatically redeploys your site.
- Push your template to GitHub:
- Create a new repository on GitHub
- Upload your template files to the repository
- Connect Netlify to GitHub:
- Select your repository:
- Deploy:
After a few seconds, your site is live at a netlify.app URL.
Step 4: The Magic of Automatic Deployments
This is where Netlify truly shines. Now that your GitHub repository is connected, you don’t need to redeploy manually anymore.
Every time you:
- Change a file
- Commit the change
- Push it to GitHub
Netlify automatically detects the update and deploys a new version of your site.
Try it yourself:
- Open your project in your code editor
- Change some text in your HTML file
- Commit and push to GitHub
- Within seconds, Netlify starts a new deploy
- Refresh your site and see the updated content live
No extra steps required!
Step 5: Customize Your Site Name
By default, Netlify gives you a random URL. You can customize it:
- In your Netlify dashboard, go to your site settings
- Find “Site information” or “Site name”
- Change it to something memorable like
yourbusinessname.netlify.app - Save the changes
Troubleshooting Common Issues
My site isn’t showing correctly:
- Check that your folder has an
index.htmlfile at the root - Make sure all file paths are correct (images, CSS, JavaScript)
- Open your
index.htmlfile locally in a browser to verify it works before deploying
My deploy is stuck:
- Keep your folder under 50MB for best results
- Individual files over 10MB can cause problems
- Try a Chromium-based browser and ensure a stable network connection
I can’t find my site:
- Check your Netlify dashboard for all your deployed sites
- Look for the
netlify.appURL in your site settings
Going Live with a Custom Domain (Optional)
Netlify gives you a free netlify.app domain by default—perfect for learning, demos, and personal projects. If you’re working on a serious project, you can later connect a custom domain like mygreatsite.com.
To add a custom domain:
- Go to your site dashboard in Netlify
- Click “Domain settings”
- Click “Add custom domain”
- Follow the DNS configuration instructions
- Netlify provides free SSL automatically
Success Story: From Template to Six Figures
One jewelry brand founder built a six-figure business using a free HTML template from TemplatesJungle.
“TemplatesJungle, Netlify, Canva, VS Code — I built an entire business on free resources.”
They searched TemplatesJungle’s collection for “jewelry” and found the perfect template that:
- Looked beautiful on phones (where 80% of their traffic came from)
- Was 100% customizable to match their brand colors
- Was free for commercial use with no hidden licensing fees
- Had a minimal, modern design that made their handmade jewelry look high-end
Recap: Your Website is Live in Minutes!
Here’s what you’ve accomplished:
- Found and downloaded a professional HTML template from TemplatesJungle
- Customized it (optional)
- Deployed it to Netlify in seconds
- Enjoy automatic updates on every GitHub push
Once this setup is done, publishing updates becomes effortless. You focus on building your business, and Netlify handles the rest.
Ready to launch your website? Browse the 150+ free Bootstrap templates at TemplatesJungle.com/bootstrap-templates/ and start building your online presence today—completely free.