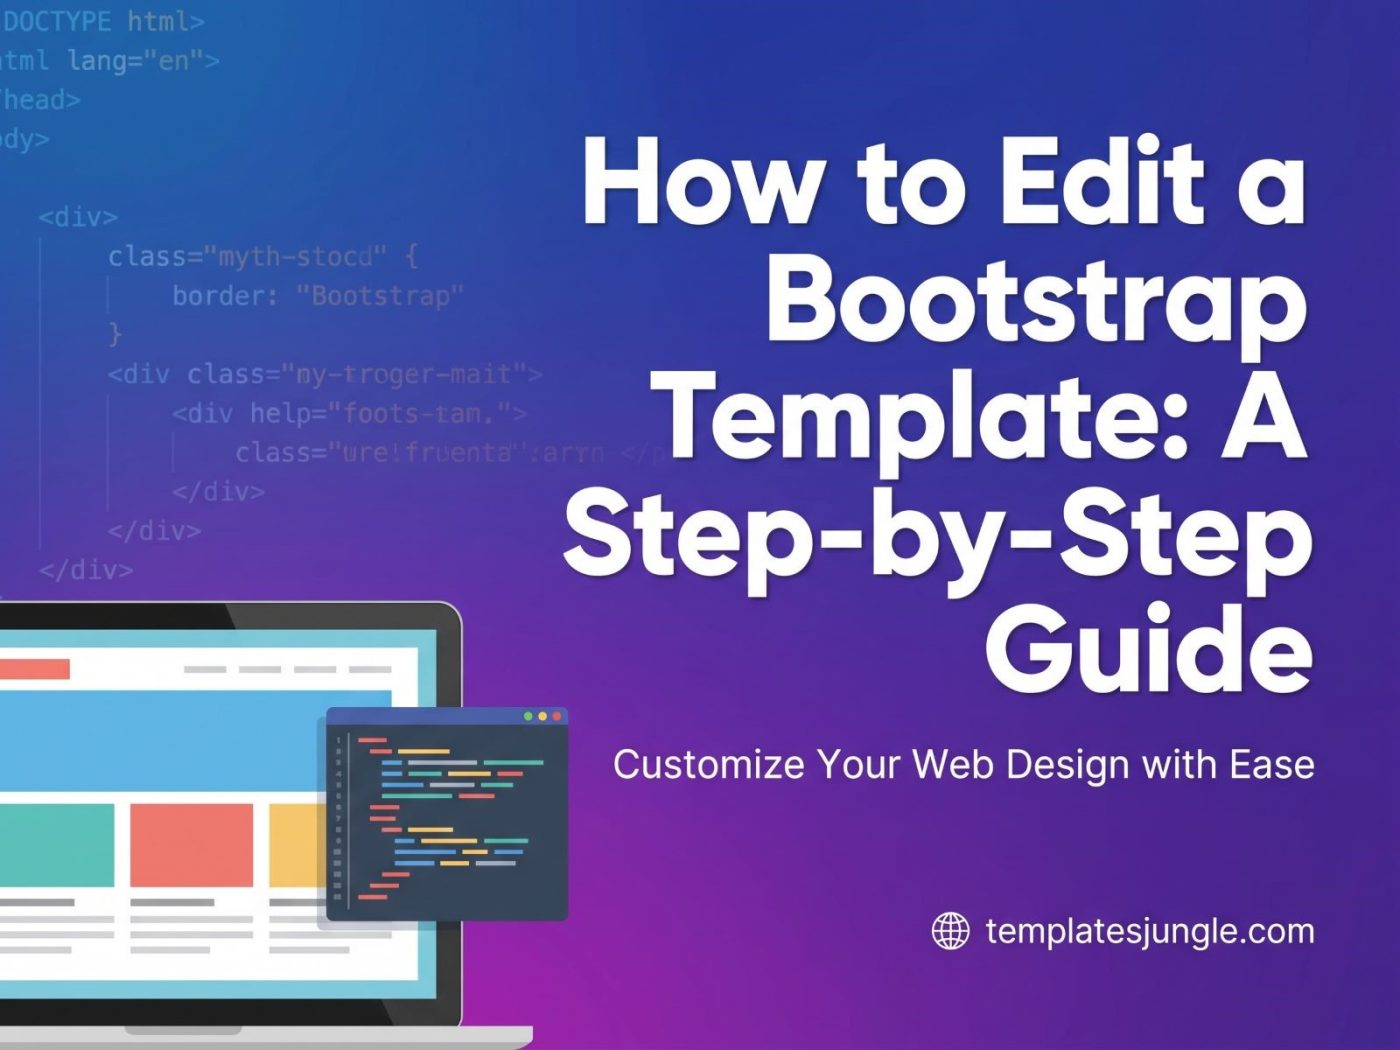

So you’ve downloaded a stunning Bootstrap template from TemplatesJungle, and now you’re staring at a folder full of files wondering, “Where do I even start?” Don’t worry—editing a Bootstrap template is easier than you think, and you don’t need to be a coding expert.
With over 150+ Bootstrap templates in our collection, we’ve designed every single one with clean, well-organized code so you can customize them with confidence. Whether you’re building a portfolio, an e-commerce store, or a business website, here’s your complete guide to making any Bootstrap template your own.
Before You Start: Understanding the Basics
Bootstrap is an open-source front-end framework that provides pre-built HTML, CSS, and JavaScript components. A Bootstrap template is essentially a ready-made website layout built using this framework, giving you a responsive, professional-looking foundation to build upon.
All TemplatesJungle templates follow good coding standards so anyone can easily understand and modify them. Our goal is to give you something solid to work with before you even start from scratch.
What You’ll Need
- A code editor (Visual Studio Code is free and excellent)
- Your downloaded template from TemplatesJungle
- A web browser to preview changes
- Basic familiarity with HTML and CSS (we’ll guide you through!)
Step 1: Choose Your Template from TemplatesJungle
First, pick the perfect foundation from our massive collection of 150+ Bootstrap templates.
Here’s just a glimpse of what we offer across every category:
Portfolio & Personal Websites:

- Natalie – A free Bootstrap 5 developer portfolio template with a clean, modern design perfect for showcasing your work
- EdwinCoward – A professional multipage portfolio with elegant styling for freelancers and creatives
E-commerce & Online Stores:
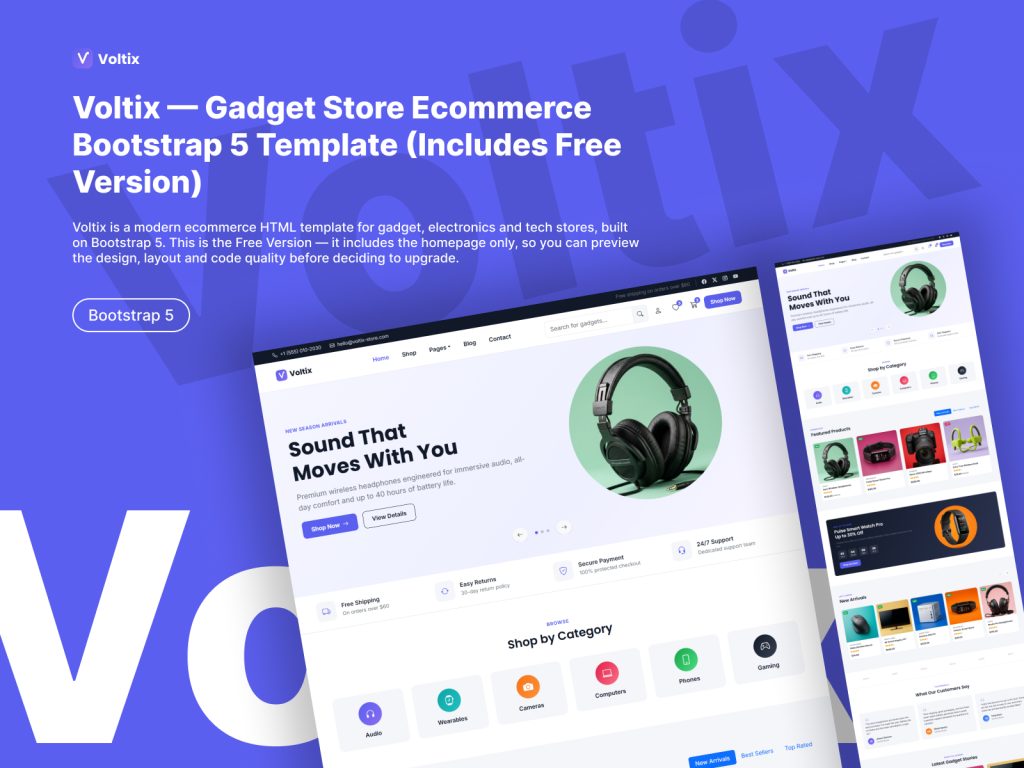
- Elegant Watch Store – A sleek, responsive template for luxury boutiques and premium products
- Clothique – A clean e-commerce template for clothing and fashion stores
- Furry – A pet store e-commerce template with well-organized product sections
Business & Services:

- Fitzone – A fitness and gym center template with sections for classes, trainers, and schedules
- StyleTrim – A modern barber and hair salon template with a stylish, fully responsive layout
- Decora – A beautiful interior design template for designers and studios
- JetWash – A pressure washing service template designed to showcase services and pricing
Admin Dashboards:

And many more! Explore the full collection at TemplatesJungle.com/bootstrap-templates/ . All templates leverage the power of Bootstrap 5 – ensuring seamless responsiveness, grid-based precision, and consistent styling across all devices.
Step 2: Set Up Your Workspace
Once you’ve downloaded your chosen template:
- Extract the ZIP file to a folder on your computer
- Open that folder in Visual Studio Code (File > Open Folder)
- Explore the structure—you’ll typically see:
index.html– The main homepagecss/– Stylesheet files (including Bootstrap)js/– JavaScript filesimages/– Image assets
Pro Tip: For professional projects, it’s a good practice to move from using Bootstrap’s CSS and JavaScript files served by a CDN to locally stored copies. This allows you to work offline and reduces external dependencies. TemplatesJungle templates include everything you need locally.
Step 3: The Three Ways to Customize
There are three main approaches to editing a Bootstrap template, each with its own use case:
Method A: CSS Overrides (Simplest, No Tools Needed)
This is the easiest way to make changes—perfect for quick tweaks.
- Create a custom CSS file in your template folder (e.g.,
custom.css) - Link it in your HTML after the Bootstrap CSS:html<link rel=”stylesheet” href=”css/bootstrap.min.css”> <link rel=”stylesheet” href=”css/custom.css”>
- Override styles by using the same class names with higher specificity:css/* Customize primary color */ .btn-primary { background-color: #ff0062; border-color: #ff0062; } /* Change font size of headings */ h1, h2, h3 { letter-spacing: -0.02em; }
Pro Tip: Avoid using !important—it wins the battle today but creates a maintenance crisis tomorrow. Instead, increase specificity deliberately. For example, if Bootstrap uses .card-title, you can override it with .custom-section .card-title to win cleanly.
Method B: CSS Custom Properties (Modern, Clean)
Bootstrap 5 uses CSS variables (custom properties) that you can override directly in your stylesheet without touching the framework files:
css
:root {
    --bs-primary: #5c2d91;
    --bs-primary-rgb: 92, 45, 145;
    --bs-link-color: #5c2d91;
    --bs-body-font-family: 'Inter', system-ui, sans-serif;
}
This approach is elegant and increasingly the community norm for Bootstrap 5 customization.
Method C: Sass Variable Overrides (Advanced, For Full Control)
If you’re comfortable with Sass, this is the most powerful method. It allows you to change Bootstrap’s core variables before the CSS is even generated.
- Create a
custom.scssfile in your template’s SCSS folder - Override variables before importing Bootstrap:scss// 1. Include functions first @import “node_modules/bootstrap/scss/functions”; // 2. Override default variables $primary: #ff0062; $secondary: #6db629; $border-radius: 0.75rem; // 3. Import the rest of Bootstrap @import “node_modules/bootstrap/scss/bootstrap”;
- Compile with a Sass compiler (Live Sass Compiler in VS Code is a great option)
Step 4: Edit HTML Content
Now the fun part—making the template yours!
Change Text and Images
- Open
index.html(or any page) in VS Code - Find the text you want to change and simply type over it
- Replace image paths in
srcattributes with your own images:html<img src=”images/your-photo.jpg” alt=”Your description”>
Add or Remove Sections
Bootstrap’s grid system makes it easy to rearrange content:
html
<div class="container">
    <div class="row">
        <div class="col-md-6">
            <!-- Left column content -->
        </div>
        <div class="col-md-6">
            <!-- Right column content -->
        </div>
    </div>
</div>
col-md-6means each column takes half the width on medium screens and up- Want three columns? Use
col-md-4(12/3 = 4)
Update Navigation
Find the <nav> section and update the menu items:
html
<ul class="navbar-nav">
    <li class="nav-item">
        <a class="nav-link" href="about.html">About Us</a>
    </li>
    <!-- Add or remove items here -->
</ul>
Step 5: Add Interactive Components
Bootstrap comes packed with interactive components that you can add with simple HTML and data attributes—no complex JavaScript required.
Add a Carousel (Image Slideshow)
html
<div id="myCarousel" class="carousel slide" data-bs-ride="carousel">
    <div class="carousel-inner">
        <div class="carousel-item active">
            <img src="images/slide1.jpg" class="d-block w-100" alt="...">
        </div>
        <div class="carousel-item">
            <img src="images/slide2.jpg" class="d-block w-100" alt="...">
        </div>
    </div>
    <!-- Controls -->
    <button class="carousel-control-prev" type="button" data-bs-target="#myCarousel" data-bs-slide="prev">
        <span class="carousel-control-prev-icon"></span>
    </button>
    <button class="carousel-control-next" type="button" data-bs-target="#myCarousel" data-bs-slide="next">
        <span class="carousel-control-next-icon"></span>
    </button>
</div>
Add a Modal (Popup Window)
Perfect for sign-up forms or special offers:
html
<!-- Button to trigger modal -->
<button type="button" class="btn btn-primary" data-bs-toggle="modal" data-bs-target="#signupModal">
    Sign Up Now
</button>

<!-- The Modal -->
<div class="modal fade" id="signupModal" tabindex="-1">
    <div class="modal-dialog">
        <div class="modal-content">
            <div class="modal-header">
                <h5 class="modal-title">Join Our Newsletter</h5>
                <button type="button" class="btn-close" data-bs-dismiss="modal"></button>
            </div>
            <div class="modal-body">
                <form>
                    <!-- Form fields here -->
                </form>
            </div>
        </div>
    </div>
</div>
Add Dropdown Menus
html
<li class="nav-item dropdown">
    <a class="nav-link dropdown-toggle" href="#" data-bs-toggle="dropdown">
        Services
    </a>
    <ul class="dropdown-menu">
        <li><a class="dropdown-item" href="#">Web Design</a></li>
        <li><a class="dropdown-item" href="#">Development</a></li>
    </ul>
</li>
Step 6: Structure Your Custom CSS Like a Pro
A single dumping ground of override rules quickly becomes unmanageable. Structure your custom.css file to mirror the template’s own component organization:
css
/* ========== 1. Global Tokens & Root Variables ========== */
:root {
    --custom-primary: #ff0062;
}

/* ========== 2. Typography Overrides ========== */
h1, h2, h3 {
    letter-spacing: -0.02em;
}

/* ========== 3. Navigation & Header ========== */
.navbar-brand img {
    max-height: 36px;
}

/* ========== 4. Hero Sections ========== */

/* ========== 5. Cards & Content Blocks ========== */

/* ========== 6. Buttons & CTAs ========== */

/* ========== 7. Footer ========== */

/* ========== 8. Utilities & Helpers ========== */
This structure means anyone picking up your project months from now can find where specific overrides live without reading every line.
Step 7: Don’t Forget JavaScript Customization
Most Bootstrap templates include initialized plugins—Swiper for sliders, GLightbox for galleries, AOS for scroll animations. When editing these, the same principle applies as with CSS: don’t edit the vendor files.
Instead, create a custom.js file and re-initialize plugins with your own configuration:
javascript
// custom.js — loaded after vendor scripts

document.addEventListener('DOMContentLoaded', function () {
    // Re-initialize Swiper with custom options
    const heroSwiper = new Swiper('.hero-swiper', {
        autoplay: {
            delay: 5000,
        },
        loop: true,
    });
});
Step 8: Test and Preview
Always test your changes in a browser:
- Use responsive design mode (F12 in Chrome) to check mobile, tablet, and desktop views
- Test all interactive elements (dropdowns, modals, forms)
- Run Lighthouse audits in Chrome DevTools to catch Performance, Accessibility, and SEO issues early
TemplatesJungle’s Ultimate HTML Template Bundle
If you love the quality of our free templates but need more variety, check out our Ultimate HTML Website Template Bundle. It contains 140+ premium Bootstrap templates covering every category you can imagine.
Why choose the bundle?
- One-time purchase, no recurring fees
- 100% responsive and mobile-friendly
- Clean, well-organized code
- All templates can be extended using Bootstrap Components
- Personal and commercial use rights included
- Remove footer credit links with purchase
- The code is consistent and easily maintainable
“Most of our HTML templates are built using the Bootstrap 5 framework. It means you can easily extend these templates using Bootstrap Components. Most of the design elements in these templates work well in any of our other templates.”
You can use these templates to create websites for your clients, modify them, and sell them—perfect for agencies and freelancers.
Common Mistakes to Avoid
Ready to Start Customizing?
TemplatesJungle makes it easy to get started. Our Bootstrap templates are:
- 100% customizable – Change colors, fonts, content, and layout
- Free for personal and commercial use – No hidden fees
- Built with Bootstrap 5 – The latest, most powerful version
- Responsive and mobile-friendly – Look great everywhere
Explore our Bootstrap template collection:
👉 TemplatesJungle.com/bootstrap-templates/
Upgrade to the Ultimate Bundle:
👉 Ultimate HTML Website Template Bundle
The bottom line: Editing a Bootstrap template from TemplatesJungle is straightforward, even for beginners. With clean code, responsive designs, and our comprehensive guide, you can transform any template into a unique, professional website in no time—without recurring fees, platform lock-in, or hiring an expensive developer.